Thrifted Seed Box Makeover
Thrifted Seed Box Makeover
*Some of the following links are affiliate links. Please see full disclosure for complete details*
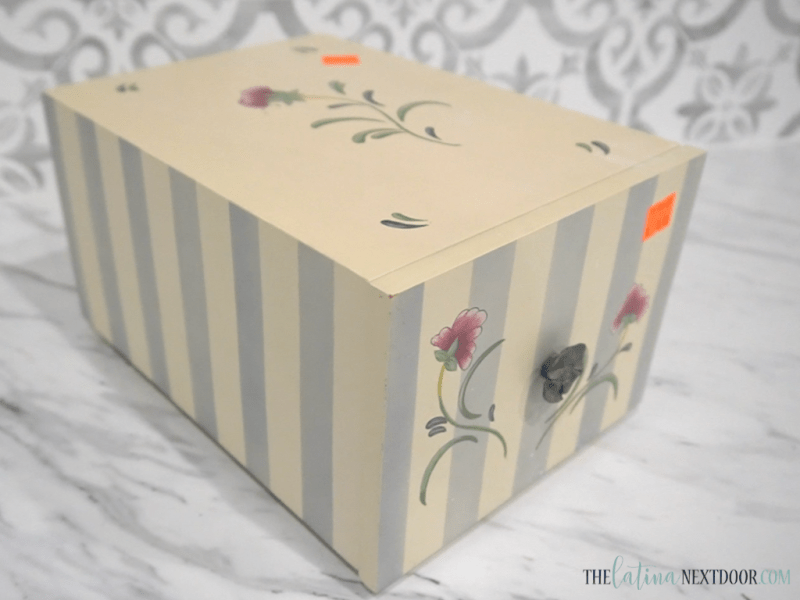
Hello friends! Today I am back with another thrifted makeover. And this time I am using items I have never used before. I purchased this cute little box at a thrift store in South Carolina a couple of months ago and I finally got a chance to make it over.
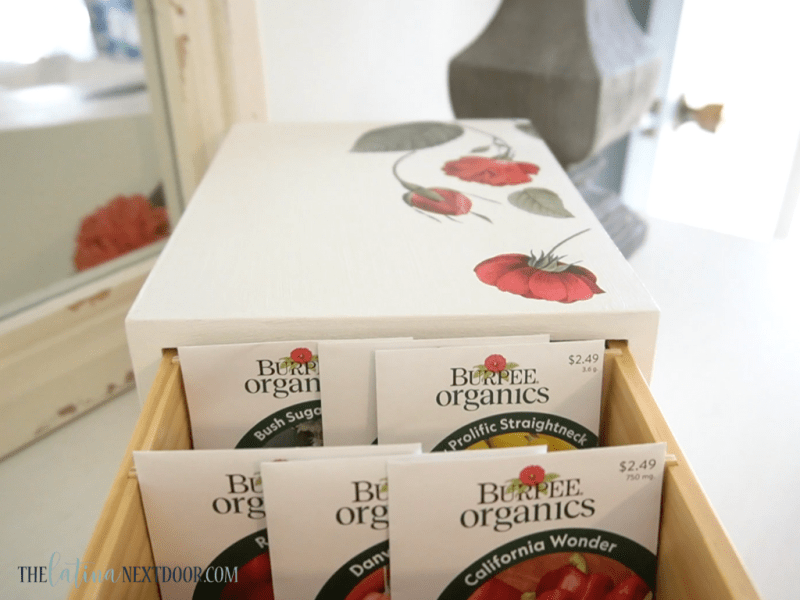
It cost me $8 and it was actually a recipe box, however, since I plan on doing gardening in the near future I wanted a place to store my seeds. And this was the perfect size, plus the drawer had compartments!
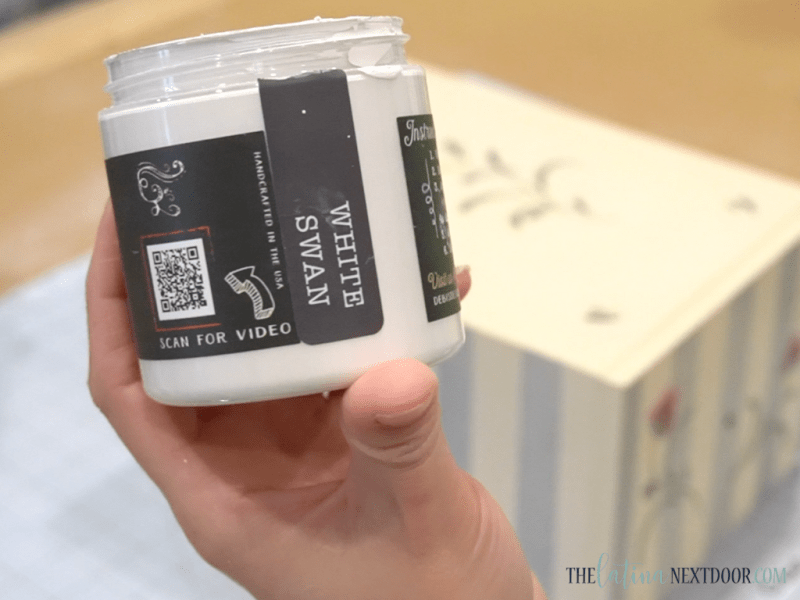
I cleaned it up and used DIY Paint in the color White Swan (and the good news is my shop is almost ready so I can start selling these paints!).
DIY Paint is a highly pigmented clay based paint that is made with all natural ingredients. It dries very much like chalk paint and covers any surface with ease!
RELATED: THRIFTED TRAY MAKEOVER
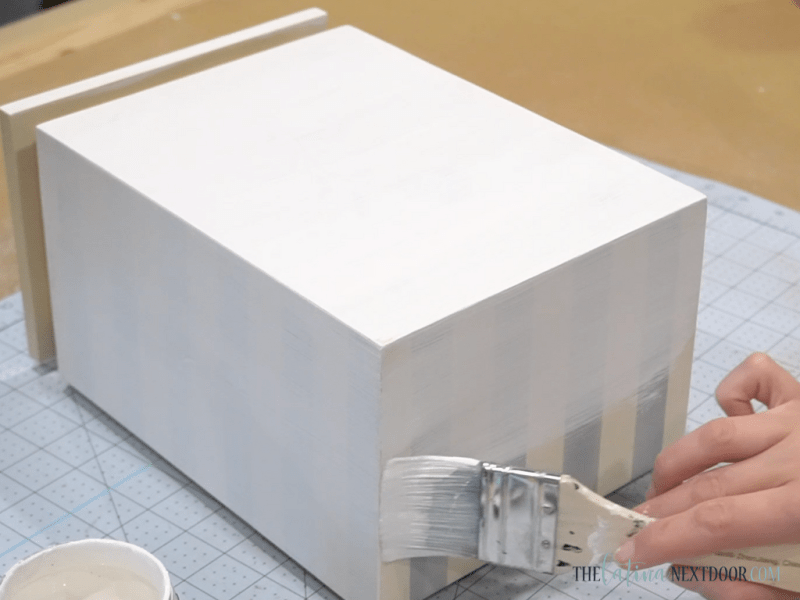
I had to give this a couple of coats since the stripes were pretty hard to cover up. But the paint did the job nicely!
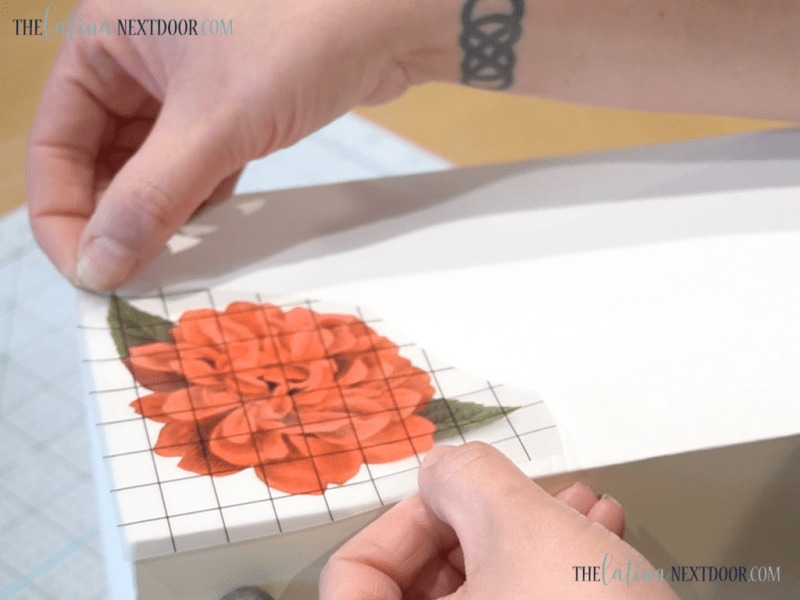
Once the box was completely dry, I used some of Iron Orchid Design Transfers.
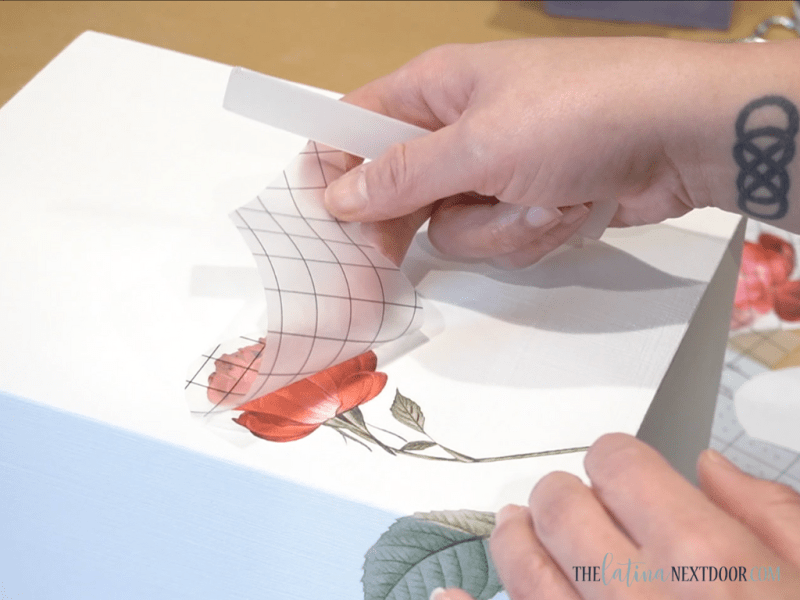
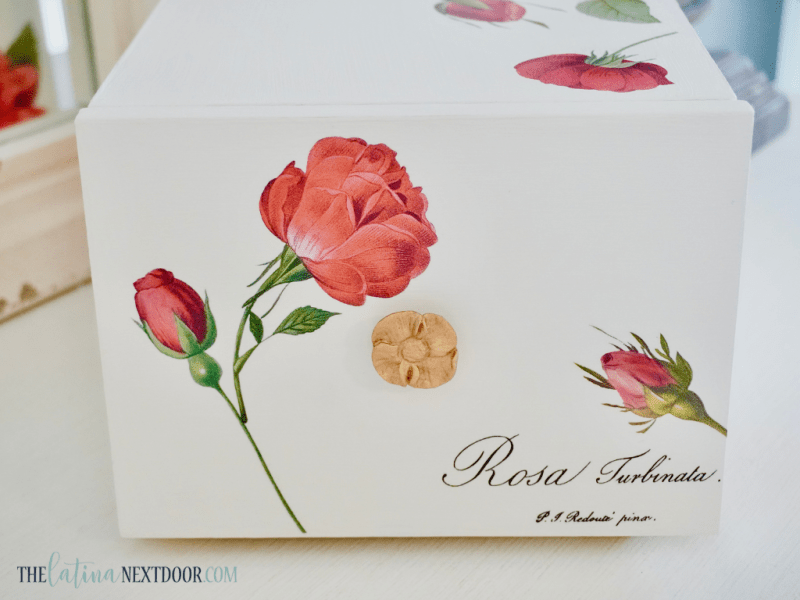
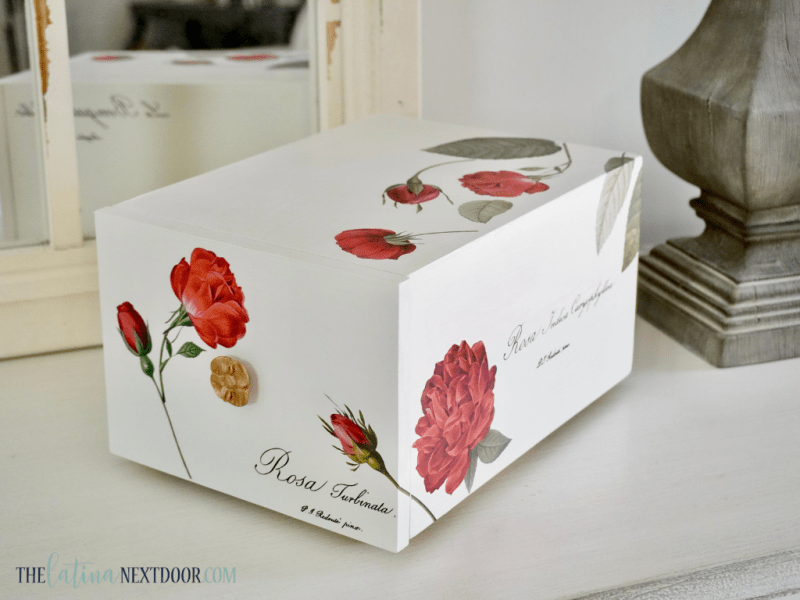
IOD sent me a fun package of some of their products to try out and I had so much fun using these transfers on this little box. I used one of their rose transfers.
Plus, I figured it was appropriate since this was after all going to be for seeds.
These transfers come in several sheets and all you do is cut out the ones you want and lay them on your desired surface. You then use the little plastic spatula they supply to rub them on and then you just pull off the clear plastic! How easy is that!?
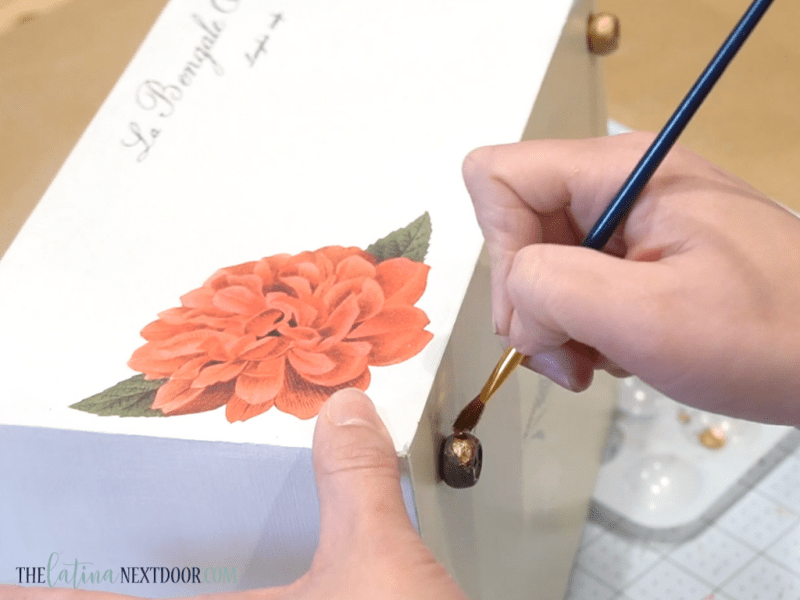
After I was done placing my transfers I decided I would use some Rub n Buff on the feet and drawer pull. Rub N Buff is great for touches like this. It is highly pigmented – one coat and you’re done! I used the Antique Gold one for this project.
Then I sealed everything with DIY Paint’s clear wax. I let it dry over night and then I buffed it the next day. After that I was done!
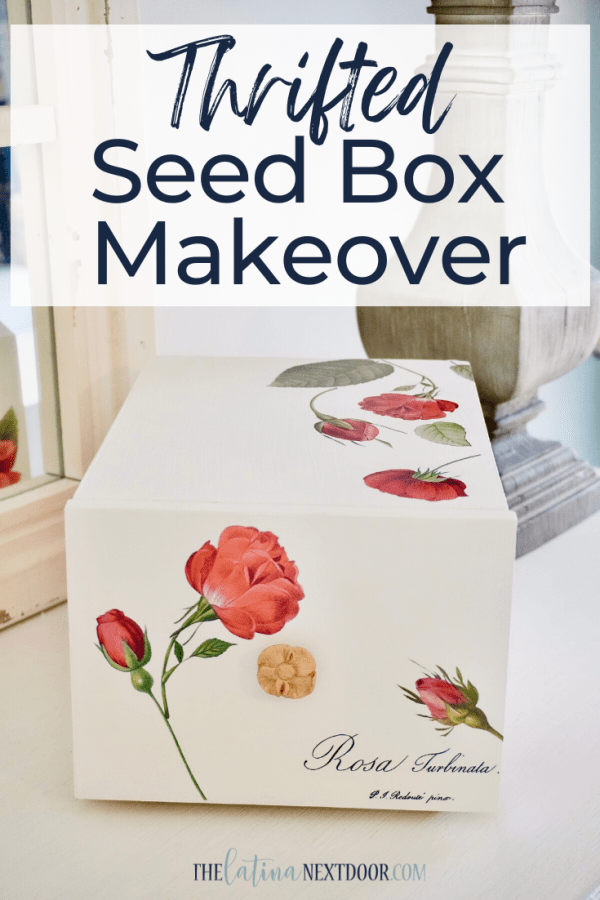
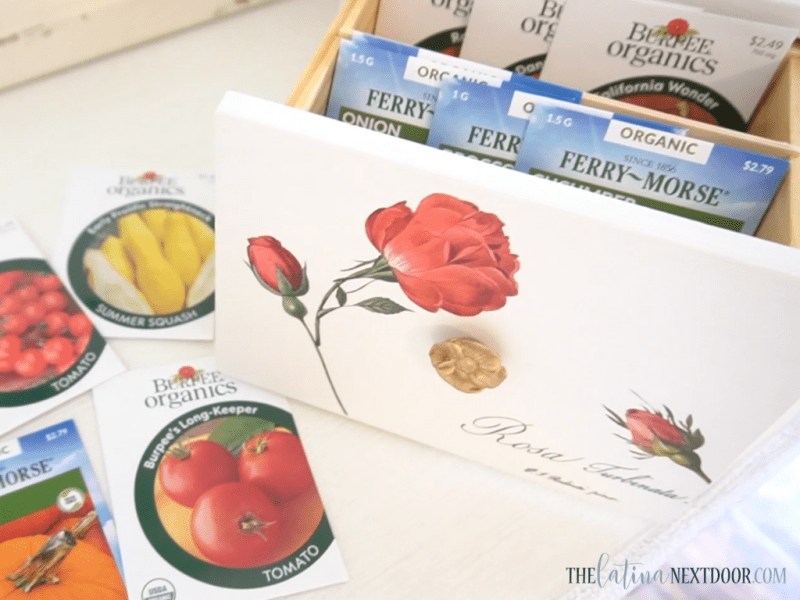
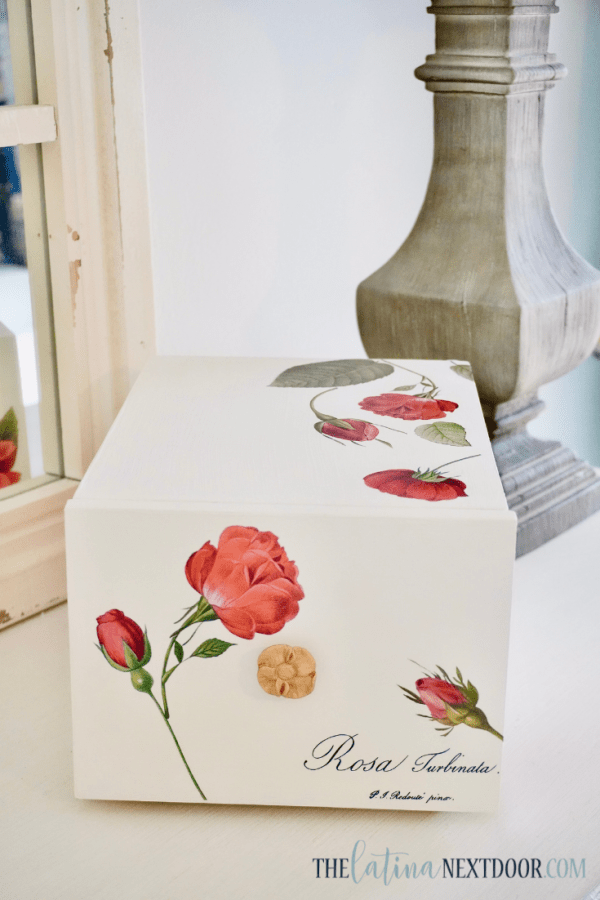
This little box is just perfect!
All of them fit so nicely and it is so great to store them in such a cute box instead of a plastic bin.
The little floral knob it came with look so much better in gold and it pairs so nicely with the transfers.
The best thing is I don’t even have to put this box away. It can stay out and be a part of the decor. And it’s perfect for Spring!
What do you think of the transformation?
If you enjoyed this and wish to see more amazing thrifted makeovers check out the video below!
GORGEOUS THRIFTED MAKEOVERS
Please share this with your friends and I will see you next time!
Until then… adios!

