Trash to Treasure Rope Basket
Trash to Treasure Rope Basket
*Some of the following links are affiliate links. Please see full disclosure for complete details*
Hey friends!
Hope you are all having a great day! I am still trying to only use the things I already have in my home in order to bring you some DIY inspiration.
My wallet (and hubby) are thankful.
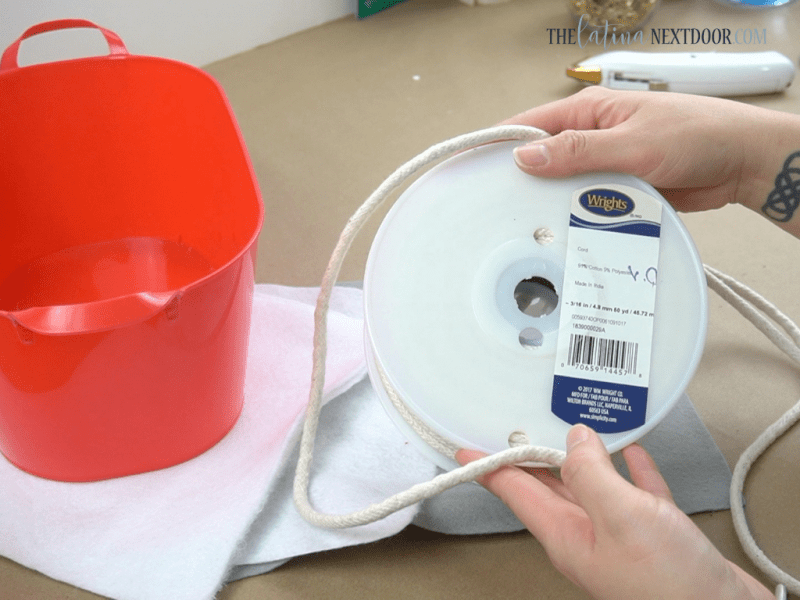
For today’s project I am taking some old cording (that I bought several years ago to slipcover a chair… ask me if I made that slipcover ?) in order to make a basket. I am also using some old felt sheets, Dollar Tree leftover rope and a Dollar Tree Christmas container.
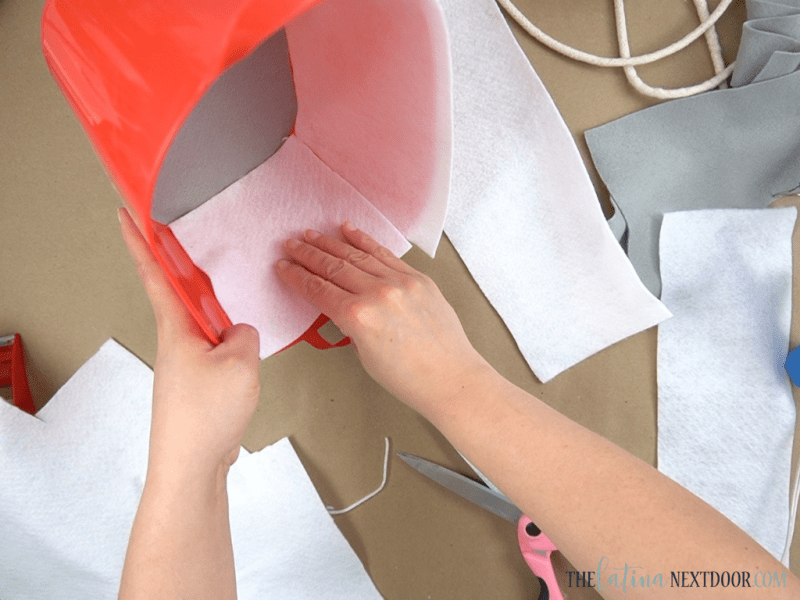
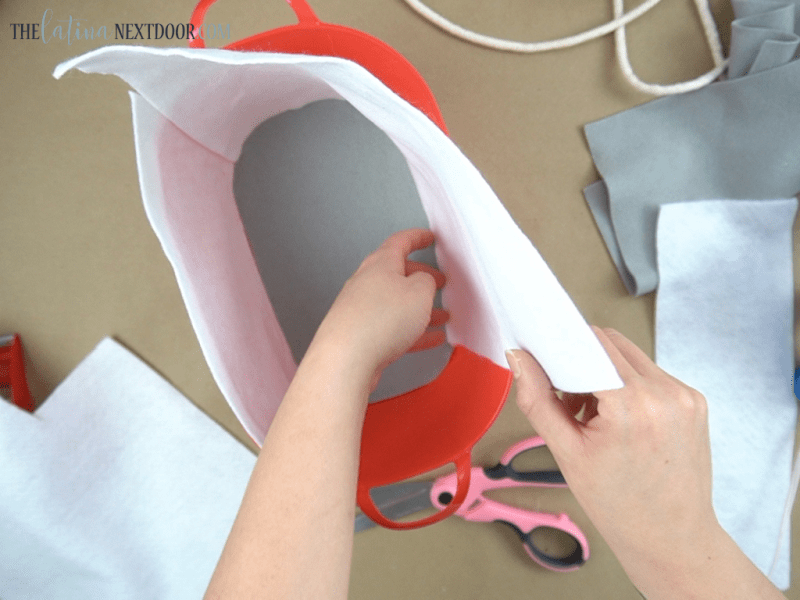
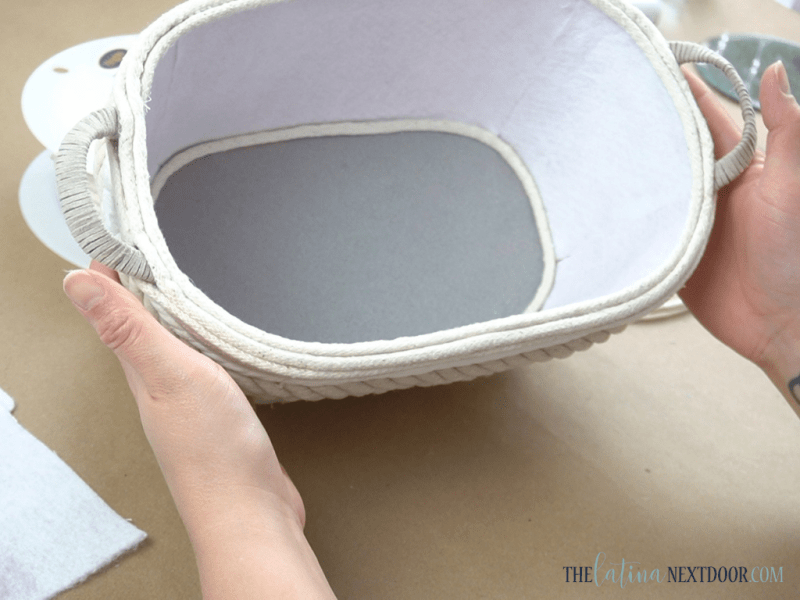
Since I didn’t have enough white felt sheets, I picked the gray for the bottom and the white for the sides. I cut them accordingly and glued them inside the basket with hot glue.
And I tried to keep the seems as close as possible while I worked my way around.
RELATED: Thrifted Candleholder Makeover
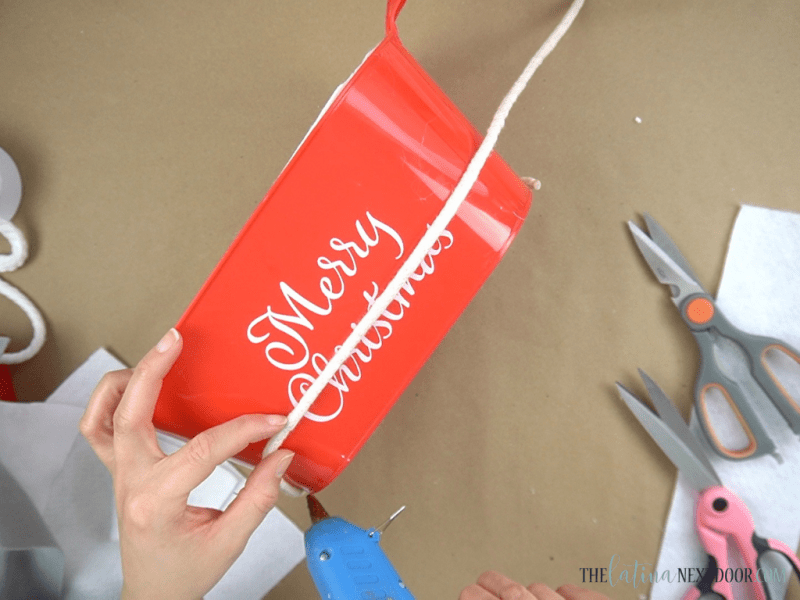
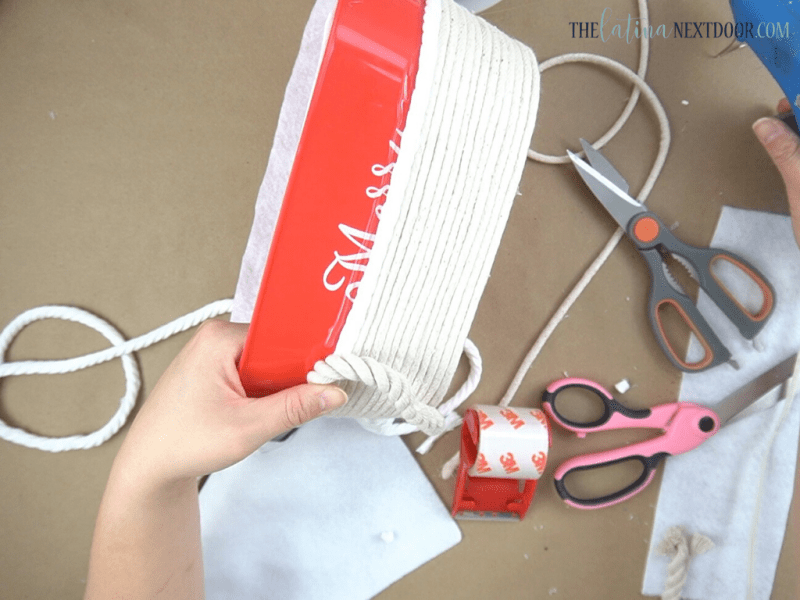
Once I finished the inside, I moved to the outside and began to hot glue the cording around it.
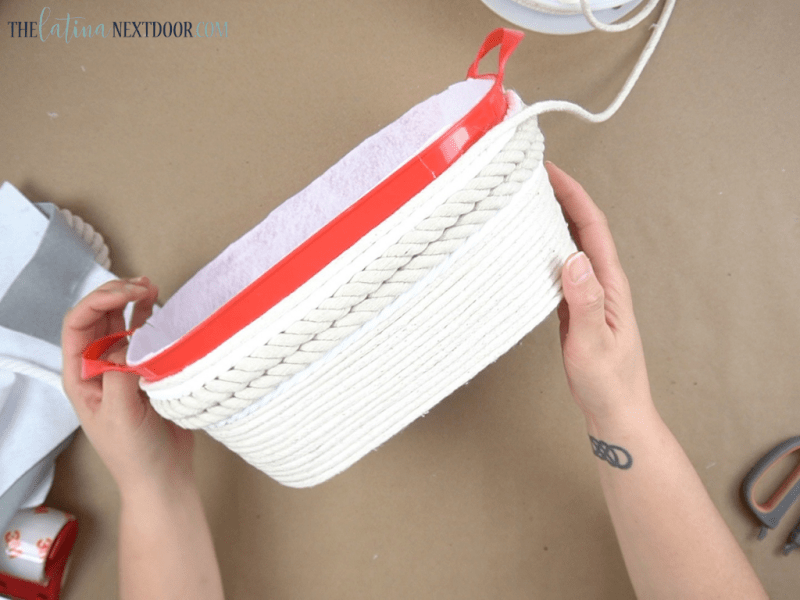
Once I got to just over the middle of the container, I switched it out for some white leftover rope that I had on hand from my decorative sphere DIYs. I only had enough to go around twice so I decided to make a unique pattern.
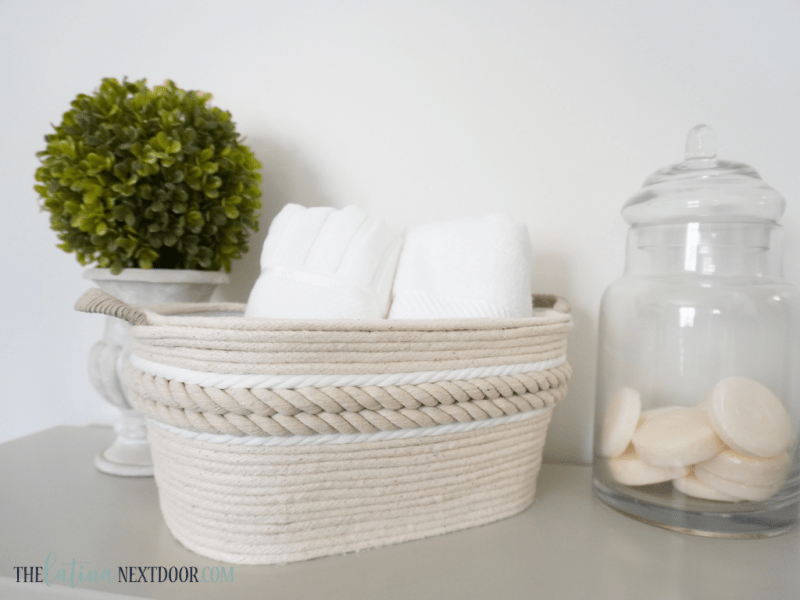
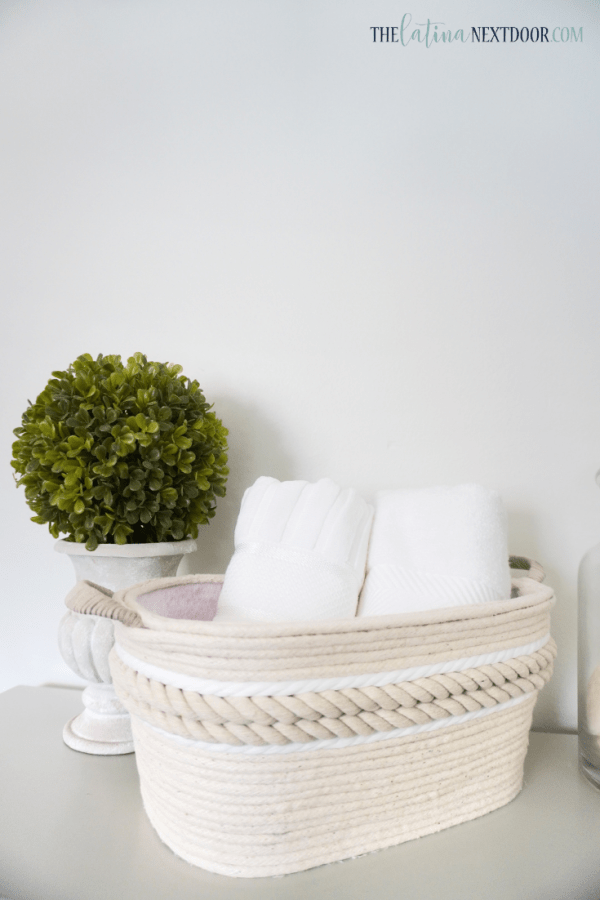
I wrapped the white rope around the basket once. Then I added Dollar Tree’s nautical rope (wrapped it twice) and then added another layer of white rope once.
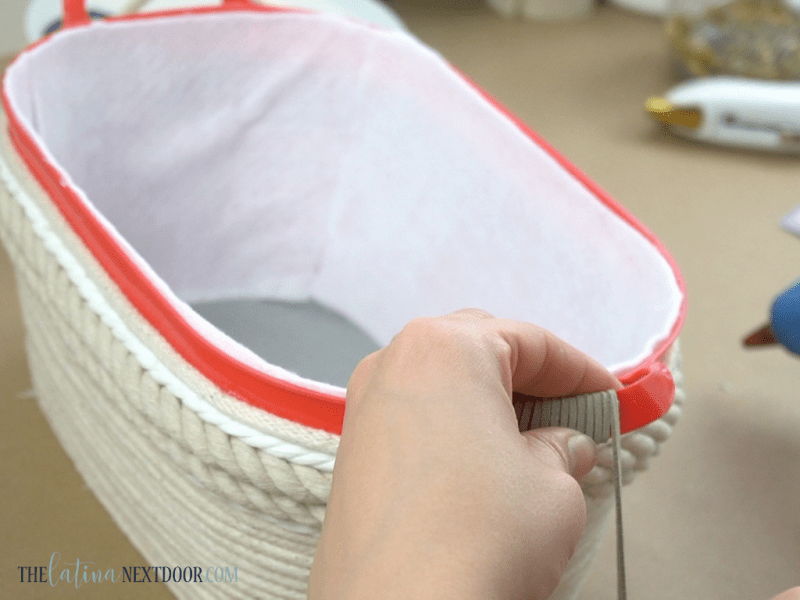
After that I used the cording once again, but before I got to the top, I wrapped the handles with thin leather strips (made for jewelry). I glued them on really tightly and and continued to wrap the cording to the top. My main focus was to cover every since bit of red.
Finally, I added a bit of cording on the inside of the basket to cover the seams of the felt sheets and make it look more finished.
And that was it!
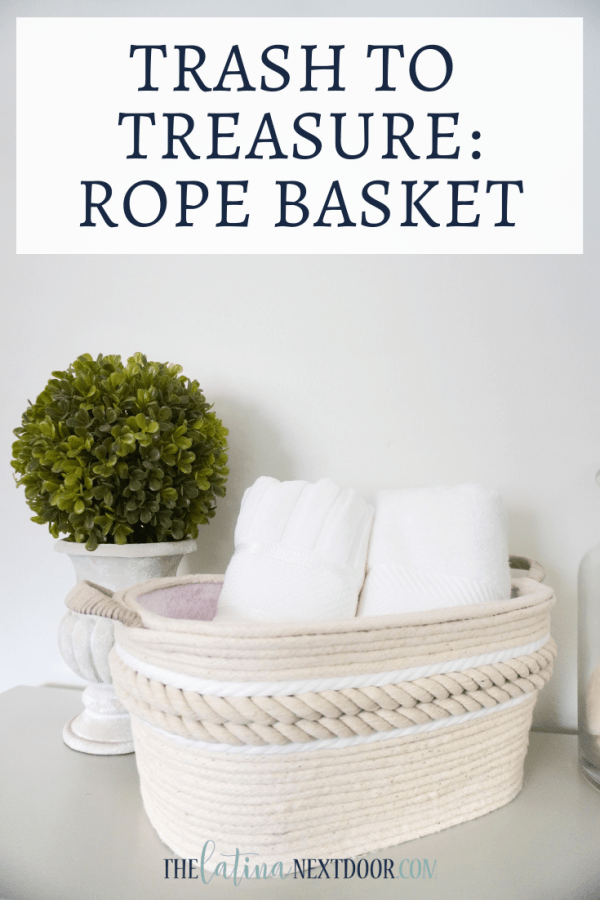
My basket is complete and I am happy that I had scraps of rope that allowed me to get even more creative! Because of this I was able to make a unique pattern on the basket. Instead of it being just one note, it has more detail and I think it will work great for hand towels.
I am also glad I took the time to do the inside as well. It just makes it look finished.
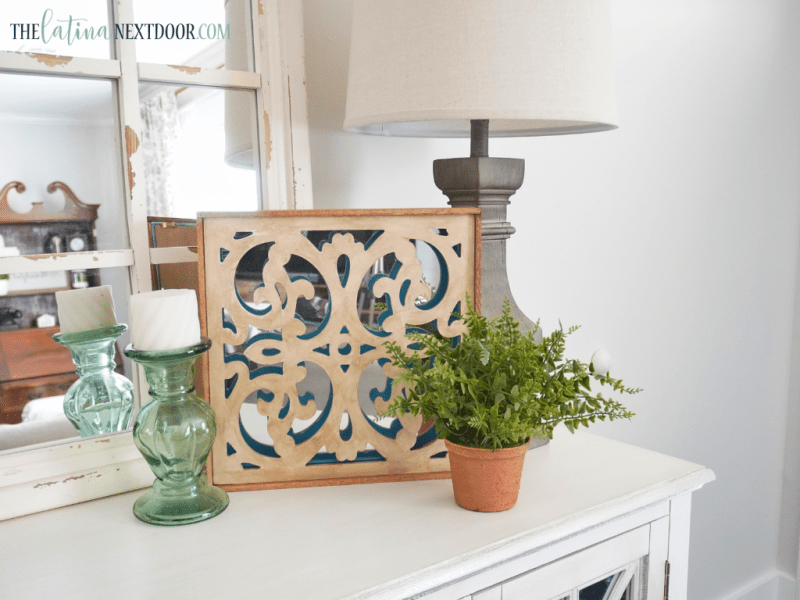
I have even more trash to treasure ideas in my latest video (at the end of this post). Here are some sneak peaks!
MORE TRASH TO TREASURE DIYs
I will see you in the next post. Until then… adios!




That was so amazing what a great job thank you so much for sharing!
Thank you so much Stephenie. It was so fun to do and now I wish to do more. LOL!