
Cottage Kitchen – Part 1
Cottage Kitchen – Part 1
Hello friends! I shared the progress with my cottage kitchen on my channel already, but I also wanted to share it here with you. It has been a few weeks that it has been (partially) completed and I am so grateful that I am no longer having to cook inside of a camper. It’s all great for a vacation trip, but for a permanent, everyday kitchen… not so much.
Since then, I have been able to cook much more comfortably, and I have even been able to share recipes with you all. Even though it’s not my forever kitchen, I still wanted it to be highly functional and be aesthetically pleasing.
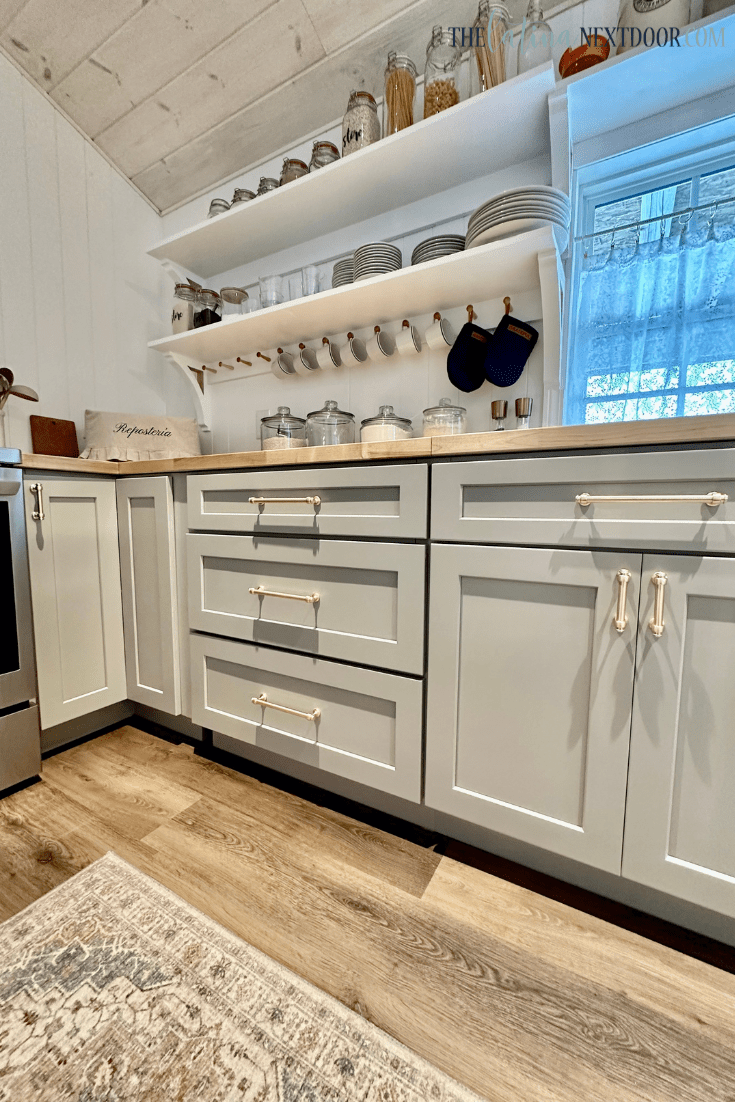
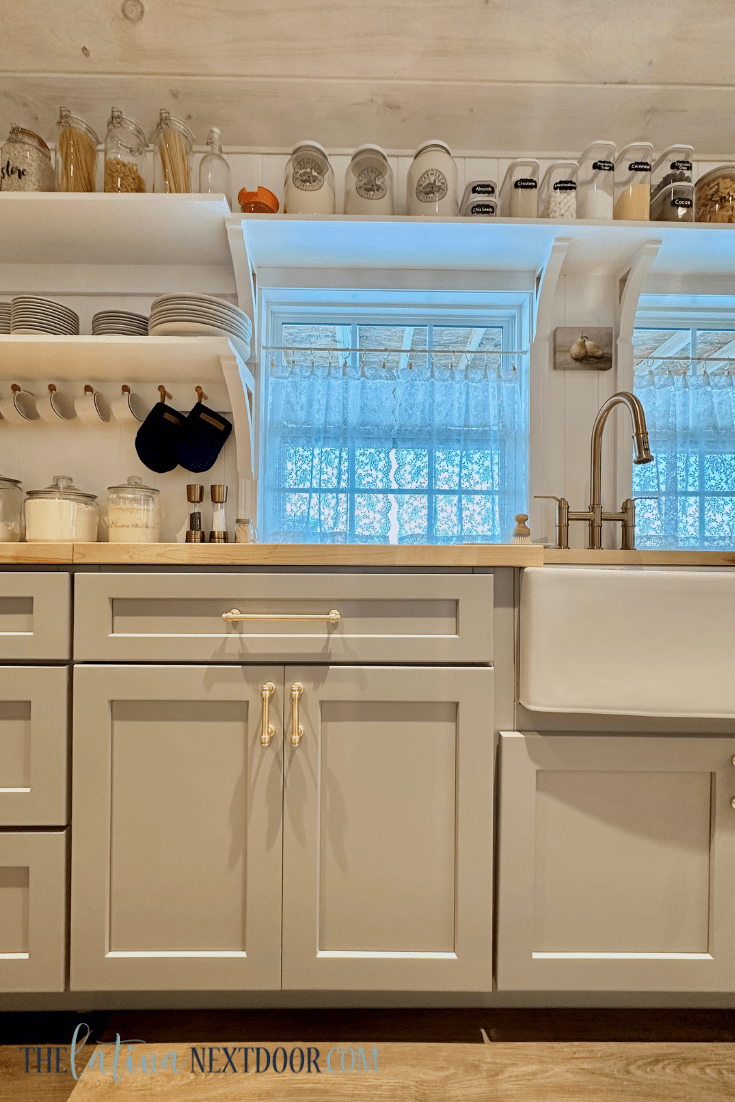
I knew I wanted darker cabinets on the bottom and open shelving up top – I just didn’t want to make the kitchen feel overwhelmed with upper cabinets. Thankfully, I was able to find these amazing cabinets at Home Outlet in Stone Harbor Gray I have had white cabinets before, but I felt I wanted something a little different this time.
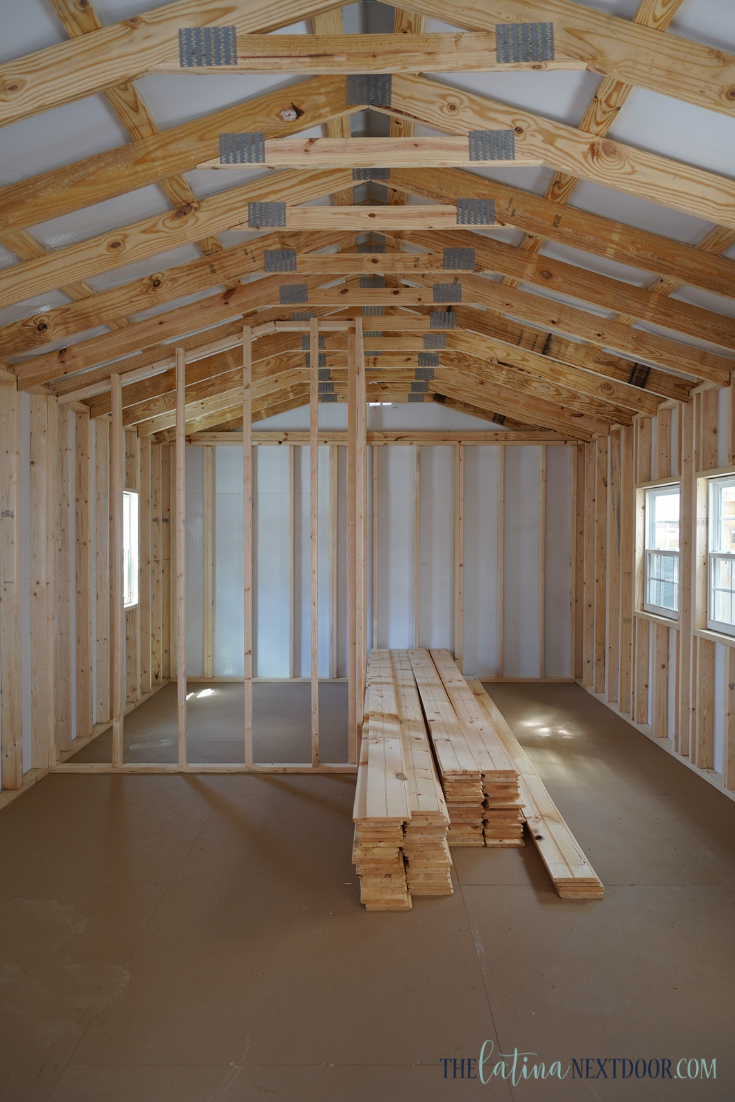
As a matter of fact, I designed this kitchen from scratch. There was absolutely nothing to go by here. Below is a picture of the interior of the cottage. The section on the right is where the kitchen is supposed to be. The room to the left is the bathroom.
Watch the video version of today’s blog post at the end of this post.
*Some of the following links are affiliate links. Please see full disclosure for complete details*
I created the entire layout of the space and I shared all of the mood boards for how I wanted each space to look like and showed them here.
This was definitely a labor of love and we had never done anything like this before. We began to build the interior and we finally made it to the actual fun stuff which is where we are now.
I will say that the cabinet experience was the best. We shopped at Home Outlet and it was really easy to see how the kitchen ” in my head” came to life with the help of their in-house design space. Plus, since they had the cabinets right there for us to pick up, there was absolutely no wait time at all to get started when we were ready.
They were very easy to put together and install which was a huge deal for us since I was really pregnant at the time. Watch the process for yourself here.
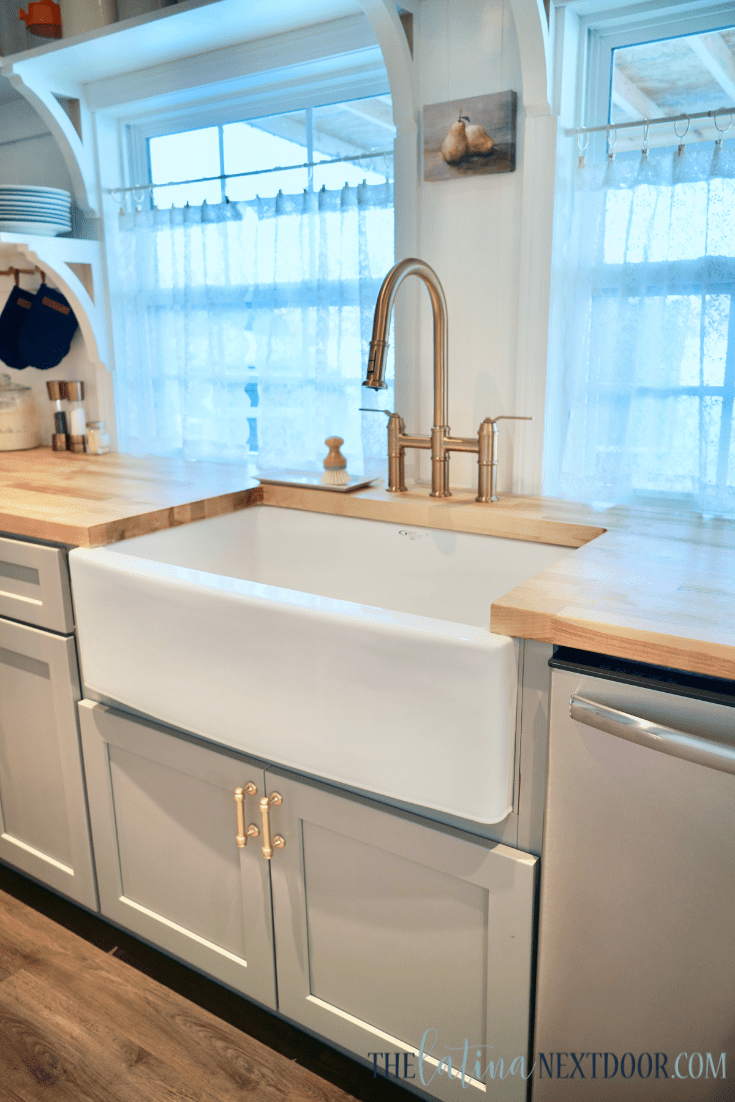
We were also able to get the farmhouse sink from there as well since their store is full of everything you need for a kitchen. I loved my farmhouse sink in our last house so I knew I had to have one here as well.
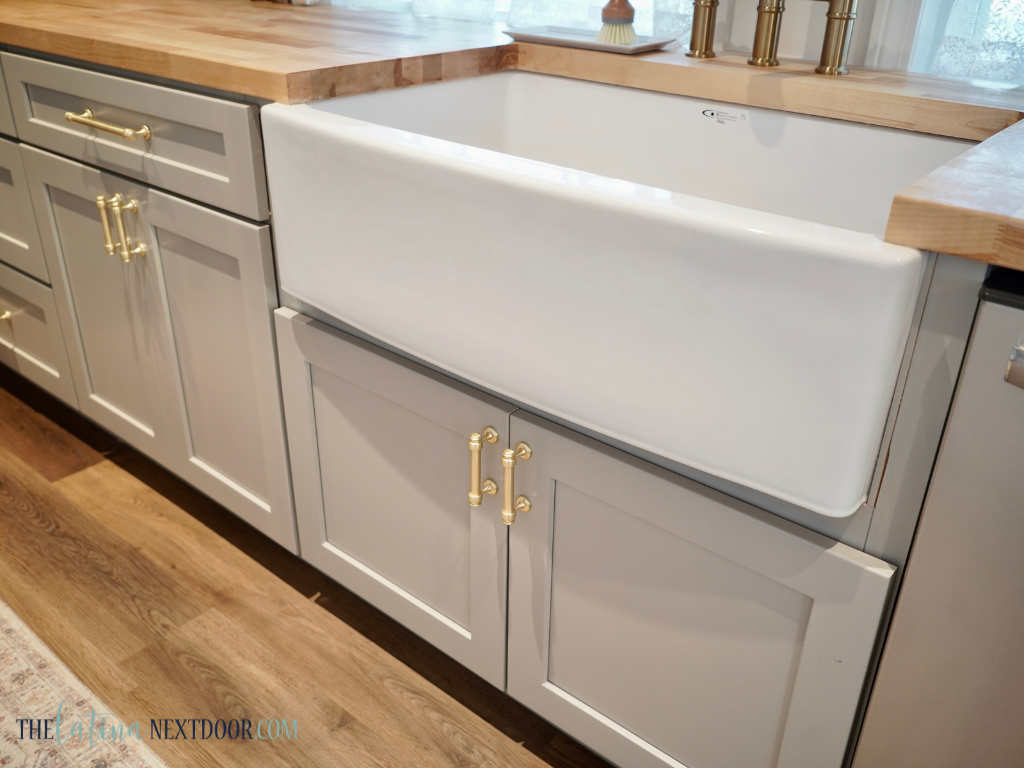
We also kept the same type of countertops as our last kitchen, I love natural butcher block countertops. They are cost effective and we were able to install them ourselves much better this time around. The first time was a doozy.
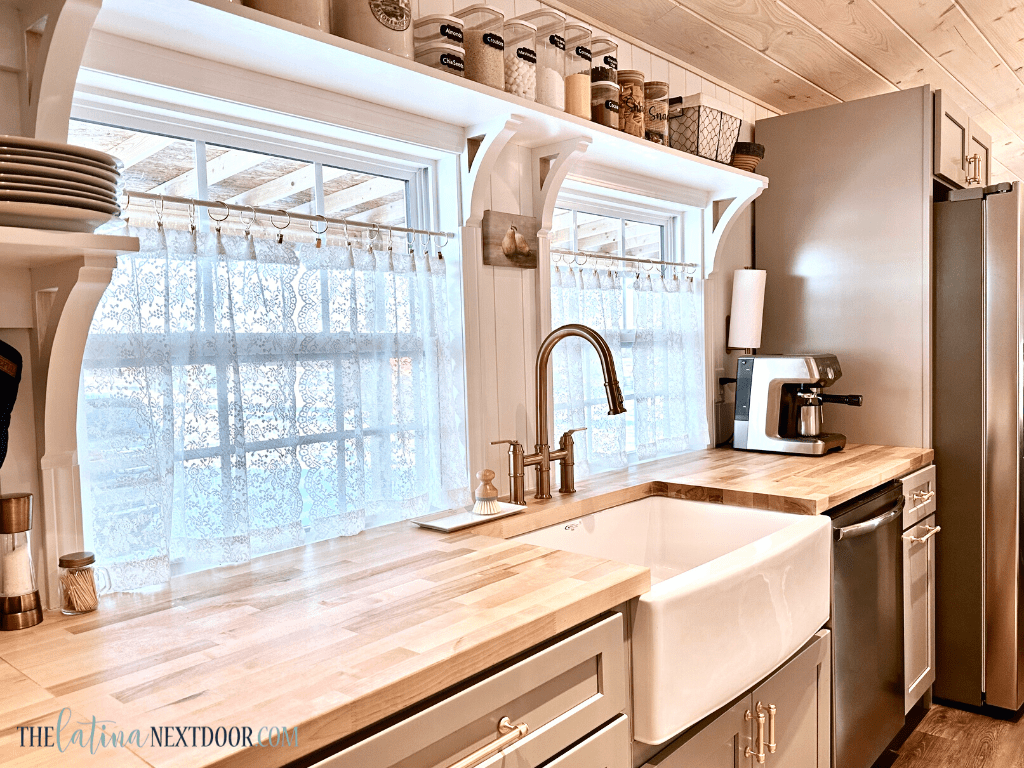
I decided to be a little bold and pair these gray cabinets with gold pulls. I am not gonna lie I was a bit nervous at first, but then I was so relieved when I saw them together. They turned out perfectly!
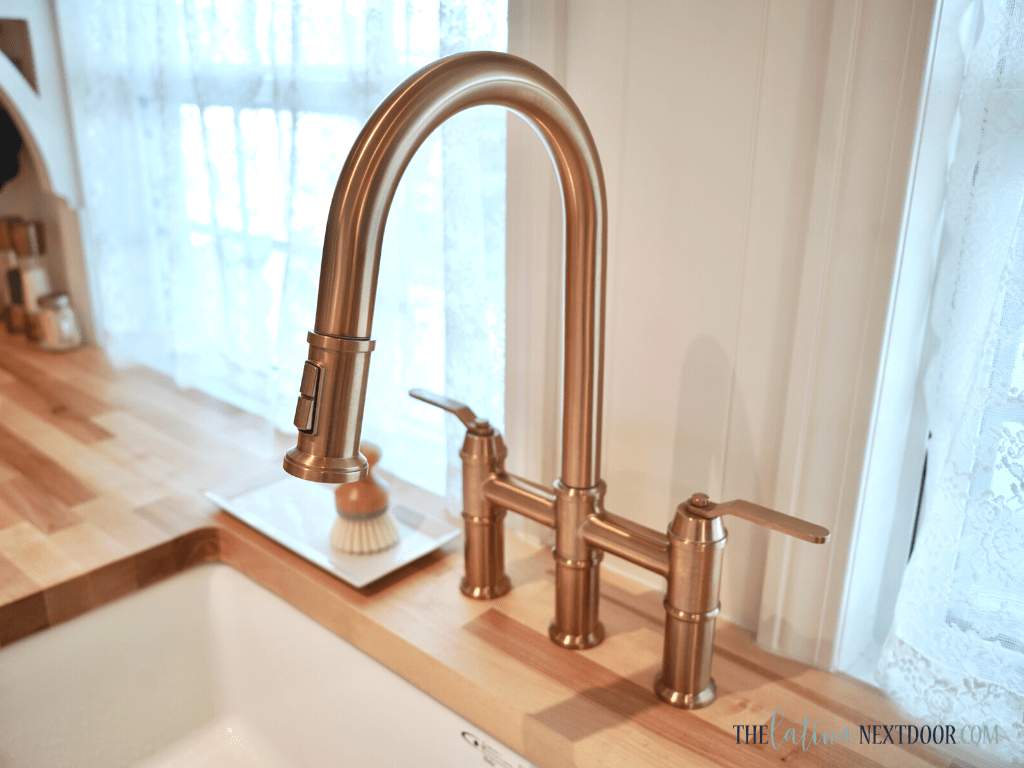
As for the faucet I went with this beauty in a brushed gold finish. I cannot say enough good things about this faucet by Gerber. I feel like it’s robust with its industrial design, yet very feminine with the color I chose.
It fits perfectly between the windows too and I just love looking outdoors while I wash dishes. It definitely makes the task more enjoyable.
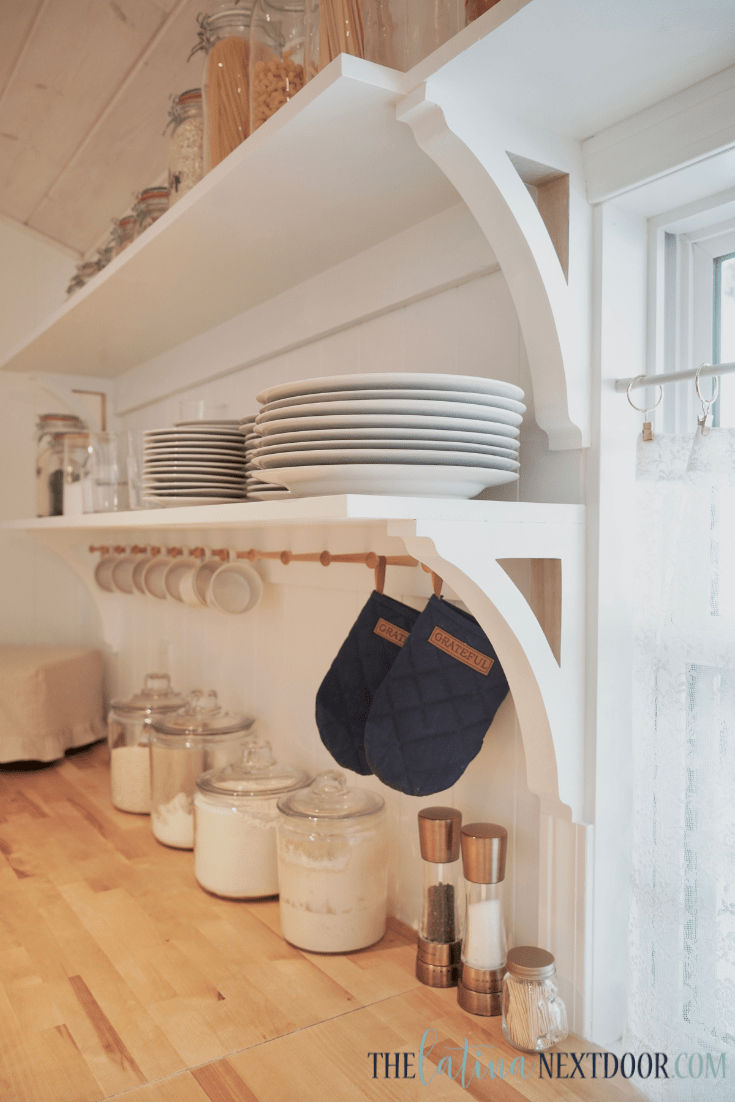
As for the open shelving, that was also designed from scratch. I ordered these corbels and incorporated them into the shelf design. It may be hard to tell by the image, but I painted the exterior of the corbels, but left the inside of them raw wood and they give a nice contrast.
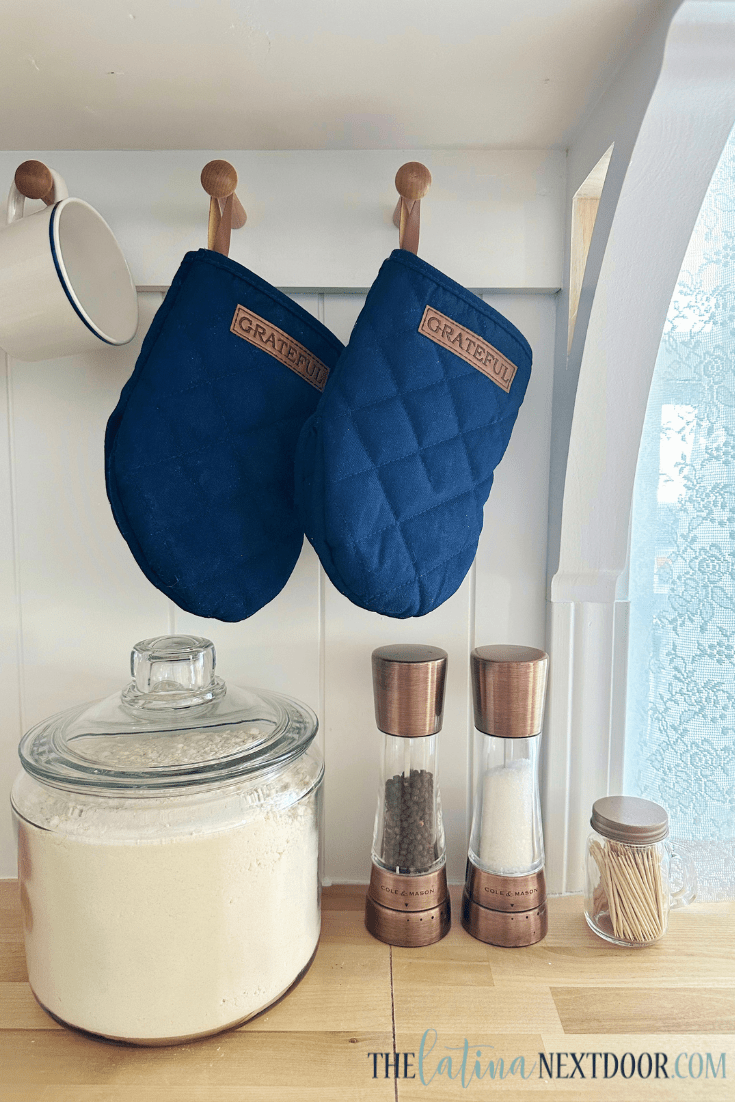
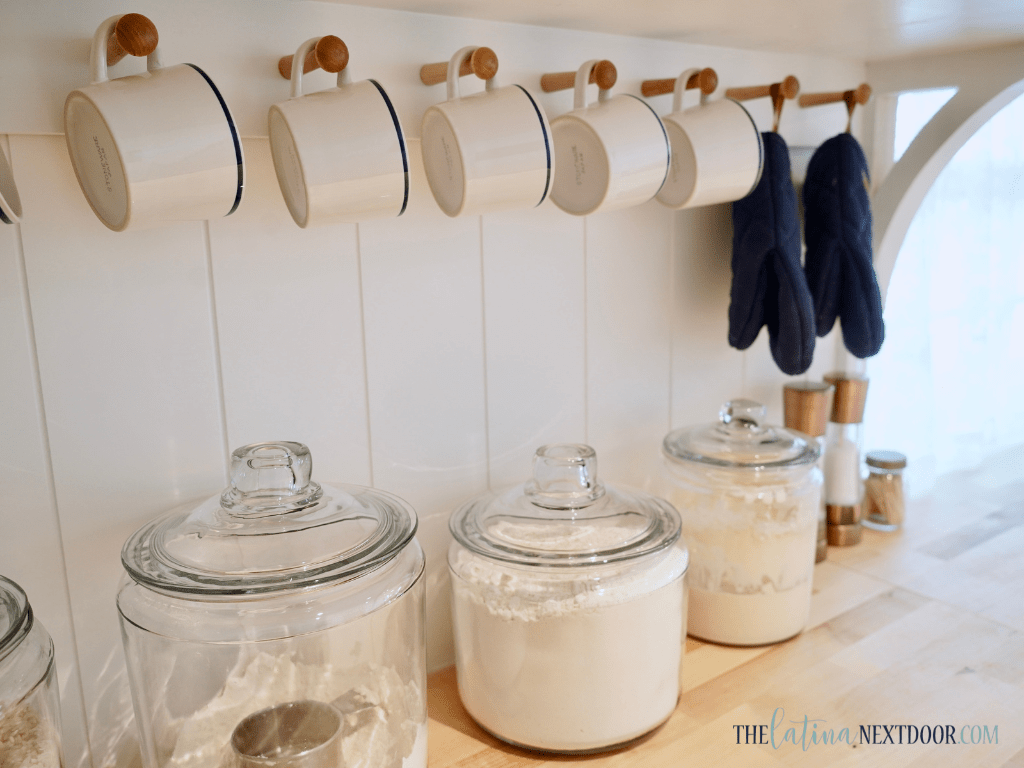
I decided to tie that wood contrast in with the pegs for hanging my small coffee cups. These were the ones that I had gotten as part of a set in one of my previous thrift hauls.
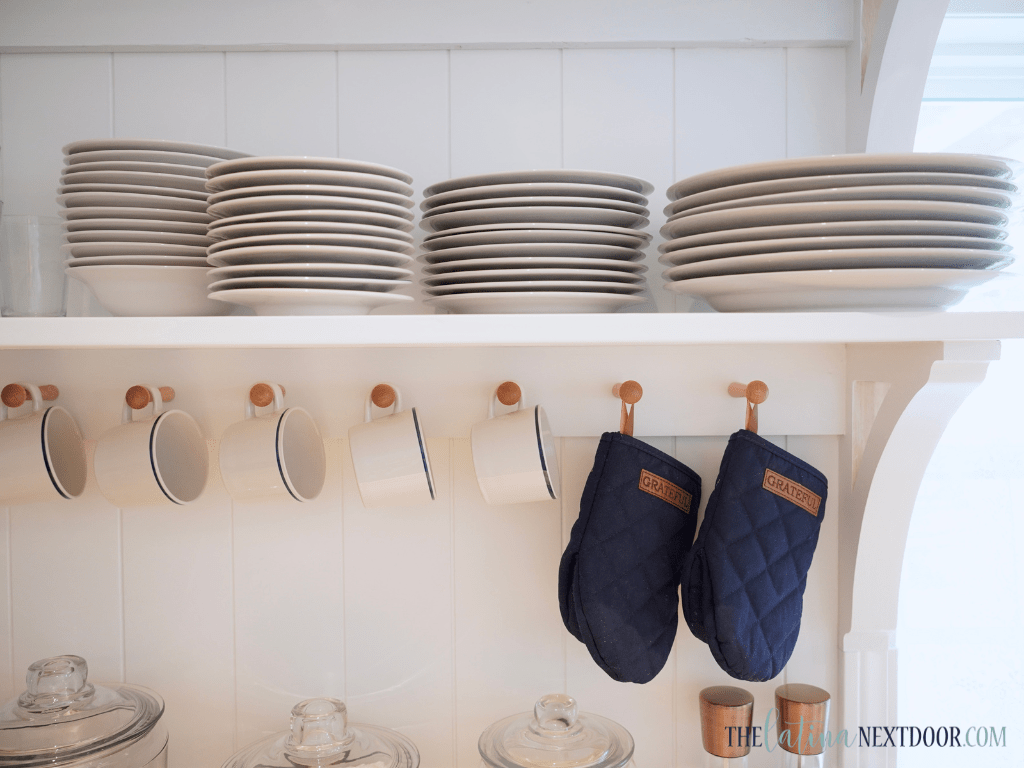
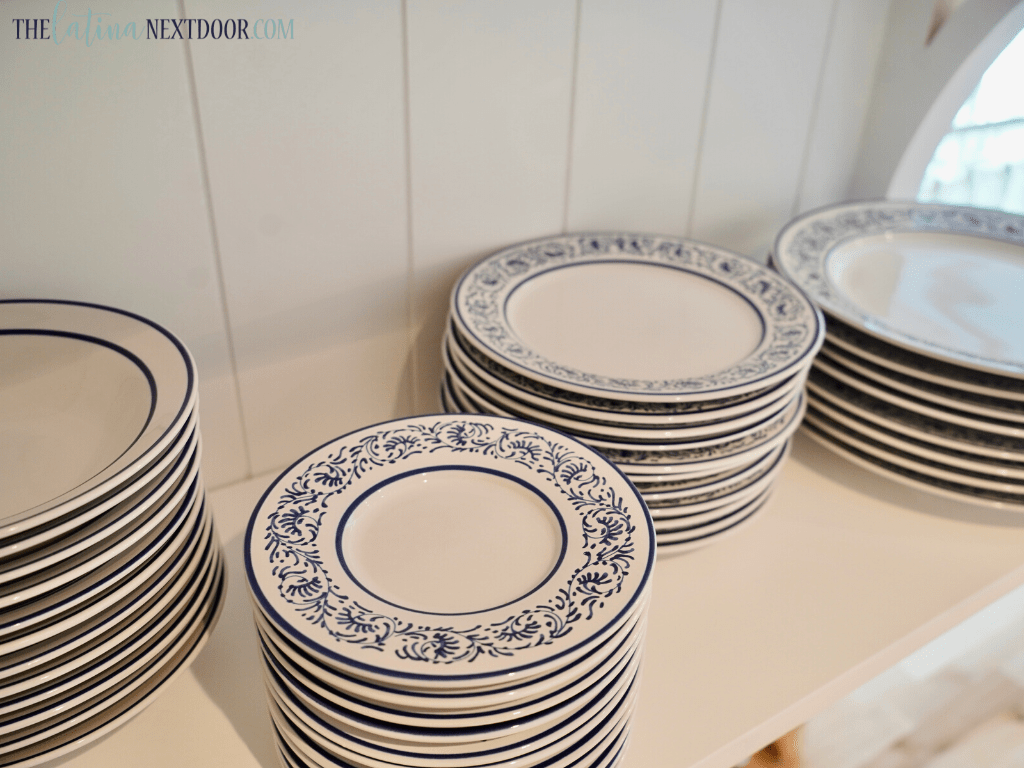
These thrifted plates worked perfectly in my space also. I love how handy they are to just grab whenever I need to serve something. I didn’t have open shelving before and I don’t have open shelving plans in my forever home, but I may just change that after my experience with these.
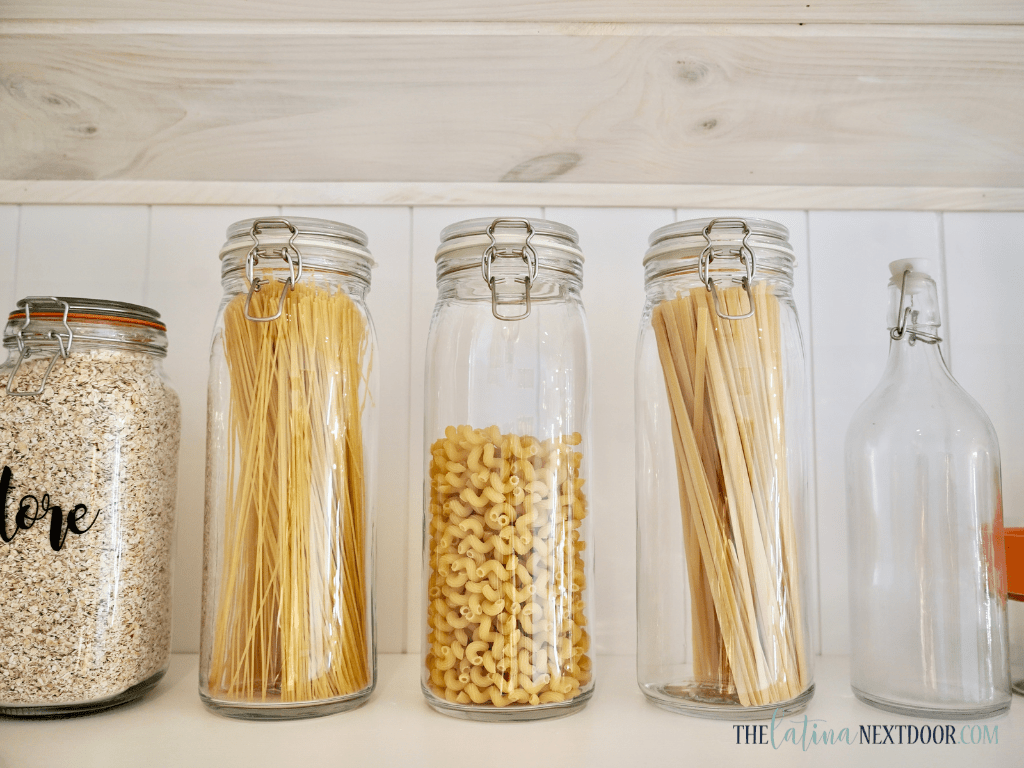
Also, in order to better use the area that I had available in my narrow kitchen, I made sure to utilize the space above the sink and windows. This was perfect for more food storage. I actually reused most of the containers that I had used in my last pantry makeover and they fit on the shelf perfectly.
The fact that I was even able to find them in my storage containers was probably even more miraculous.
Moving on….
In order to soften the space, I chose these cute lace curtains for my windows, since I wanted a little bit of privacy but I didn’t want to obscure my view of the land nor did I want it to hinder the sunlight coming in. I love how quaint it makes the space look.
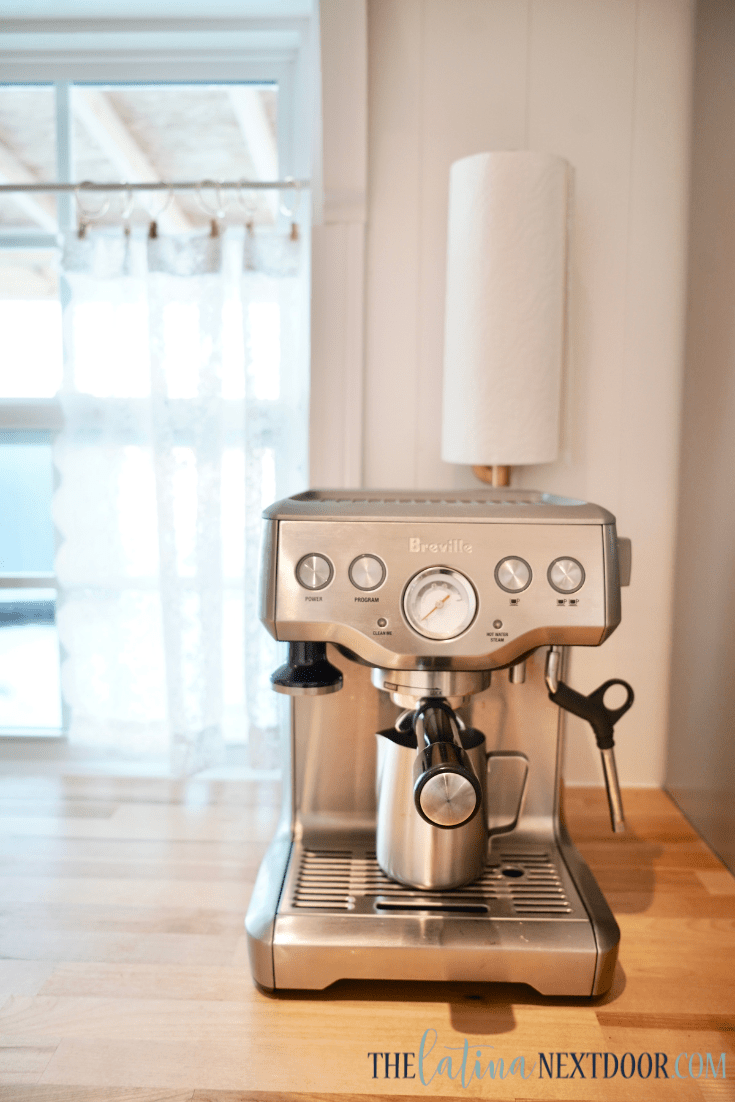
It was nice to bring in more of my items like my espresso maker as well. I lived without this for way too long and it fits perfect in this corner.
On the other end of the counter I placed my toaster oven. I still had the cover that I made for it a few years ago, and it definitely improves how it looks.

I accessorized with both old and new items and did the best I could to make everything look cohesive.
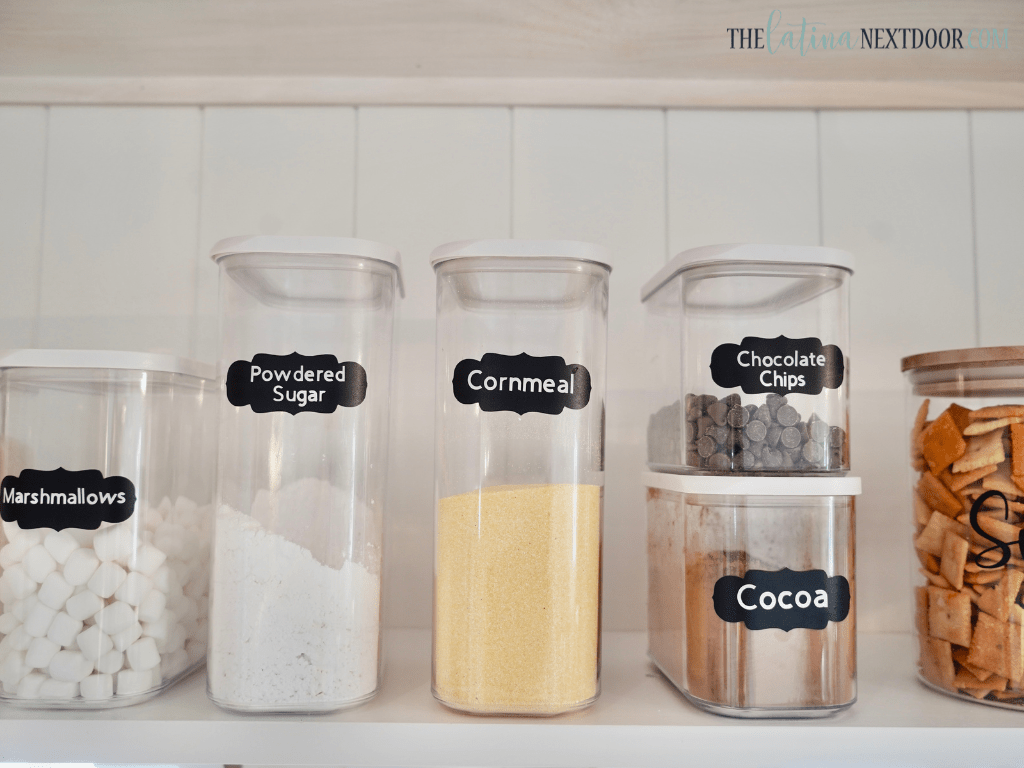
Some of my storage containers were very inexpensive like the ones below from Dollar Tree.

I also have these tall ones for my pasta. These are from Ikea,
Of course, my countertop could not go without my sourdough starter, which by the way is on its 3rd year! I have had a few close calls, but I am happy to report that it’s still alive.
I had labeled these containers a while back with my Cricut Maker and they are still going strong. I love being able to see everything I have since so many times in the past, I would forget about them and my items would go to waste since they would expire.
All I can say is that I am finally so relieved that this part is done.
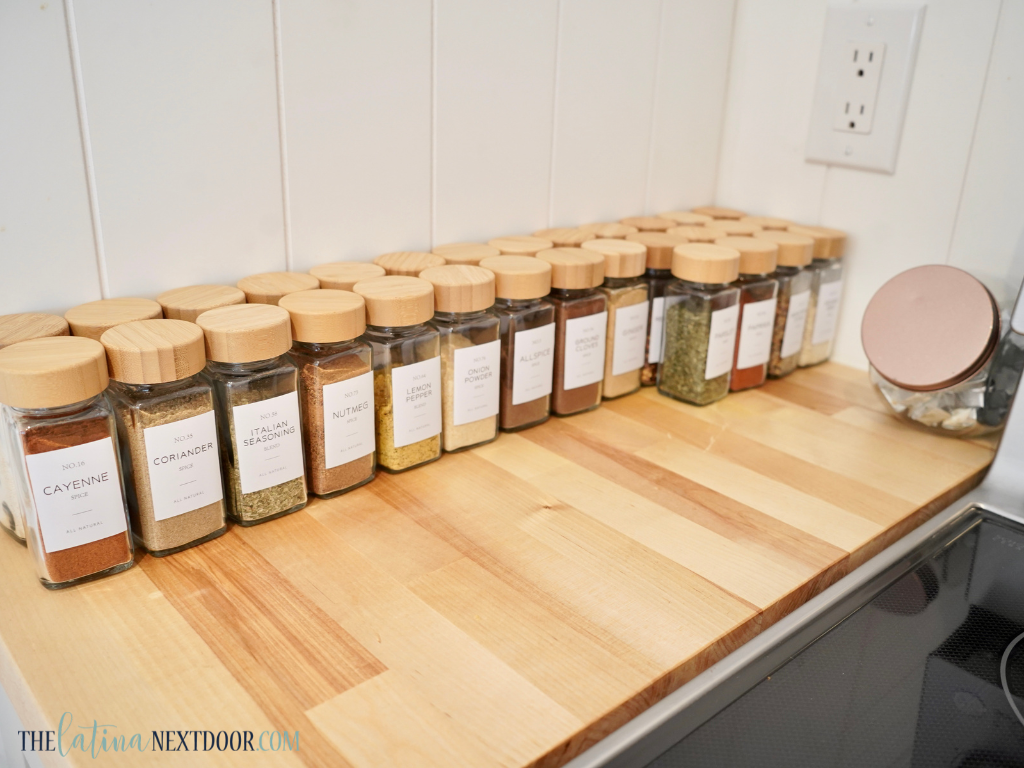
And while I am rejoicing over here, unfortunately we are still not done. I replaced all of my spice containers, but I have yet to build a spice rack to put them somewhere. We also need to add a door to the bathroom (currently we have curtains there) and we need to install a hood vent.
So clearly I will be back eventually with an update. Just not yet.
I would, however, love to hear what you think about the space so far. I am so proud we have been able to take it up to this point and I cannot wait to see it completely finished and 100% functional. Most of the items shown are available here under the kitchen category.
And as always you can watch how this all came together below.
I hope you enjoyed this update and I will see you back here soon.
Until then… adios!


I love how everything is working out for you. I like the new & old things in your space, it looks so homey in there. It looks so open and spacious for such a small area. Looking forward to seeing what you guys are doing next! I truly enjoy watching your videos.
It’s Beautiful! You make everything so easy to do. You have inspired me and given me ideas for my She Shed.
Blessings to you and your family.